
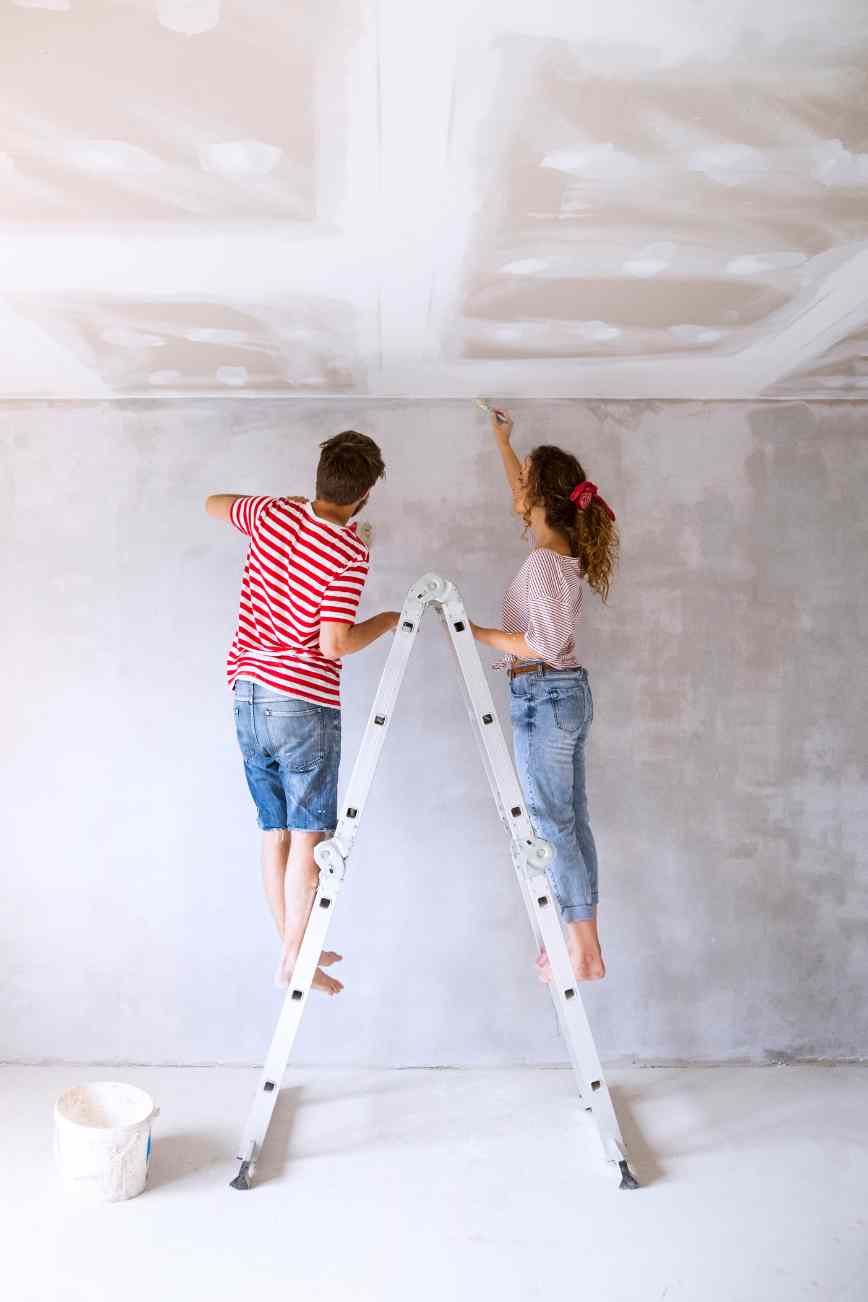
Preparing your walls for a decor makeover is crucial for achieving a flawless finish. Whether you’re planning to paint, wallpaper, or apply any other form of wall covering, the preparation stage can make or break the final look. This guide will walk you through the essential steps to ensure your walls are pristine and ready for whatever decorative touches you plan to add.
Step 1: Clean the Walls
The first step in preparing your walls for decoration is to ensure they are clean and free from dust, dirt, and grease. Start by dusting the walls with a broom or a dusting brush to remove loose debris. For areas with noticeable dirt or oily stains, use a mild, soapy solution and a sponge to gently wash the surface. Rinse with clean water and allow the walls to dry completely. This step is vital because paint and wallpaper adhesives adhere best to clean surfaces.
Step 2: Fix Plaster and Smooth Out Imperfections
Inspect your walls for any cracks, holes, or uneven plaster. If the plaster is damaged or crumbling, it may be necessary to reapply plaster to ensure a smooth and stable surface. Use a putty knife and spackle or wall filler to fill small imperfections. For larger repairs or re-plastering work, apply a new layer of plaster and allow it to dry thoroughly before sanding it smooth. Ensuring that all repairs are flush with the wall is crucial to avoid visible bumps or indentations after decorating.
Step 3: Sand the Walls
Sanding your walls can help create the perfect base for new paint or wallpaper. Use medium-grit sandpaper to lightly sand the entire wall surface. This step helps to roughen up glossy finishes and ensures better adhesion of the new paint or wallpaper. Be sure to wipe down the walls with a damp cloth after sanding to remove any dust.
Step 4: Remove or Cover Radiators
If your walls are equipped with radiators, consider whether to remove them temporarily. Removing radiators can make it easier to paint or wallpaper behind them, ensuring a more consistent and thorough application. You can look at this guide for advice on how to change a radiator. If removal isn’t possible, ensure they are adequately covered and protected against drips or spills.
Step 5: Apply a Primer
Priming your walls is an essential step, especially if you’re making a dramatic color change or applying wallpaper. A primer helps to cover stains and dark colors, providing a neutral base for new paint. For wallpaper, an acrylic primer can be especially beneficial as it makes future removal easier. Ensure the primer is appropriate for the type of wall surface and finish you are planning.
Step 6: Address Moisture Issues
Before proceeding with your decoration, ensure there are no moisture issues. Check for signs of dampness or mold, particularly in corners and near windows. If you find any moisture, address the source of the problem before continuing. Moisture can cause paint and wallpaper to peel off prematurely, so it’s crucial to resolve these issues first.
Step 7: Cover Fixtures and Trim
Finally, protect any fixtures, fittings, and trims that you don’t want to be painted or splattered with wallpaper adhesive. Use painter’s tape to cover edges and protect your trim, and lay drop cloths on the floor to catch any spills or debris.
By following these steps, you can ensure that your walls are perfectly prepped and ready for a decor makeover. Taking the time to prepare your walls properly can lead to professional-looking results that truly transform your space. Whether you choose bold paint colors or elegant wallpapers, your well-prepared walls will be the perfect canvas for your decorative endeavors.

We haven’t painted the walls in ages…
Good tips
I so need to do some painting and these are some great tips.