Key Takeaways
- Choose foods with different textures, colors, and flavor profiles.
- Build the menu around a few useful categories instead of random snacks.
- Include fresh choices, filling bites, crunchy foods, comfort foods, and a modest sweet option.
- Serve food in smaller dishes and refill as needed to reduce waste.
- Label common allergens and use separate utensils for each dish.
- Keep cold foods cold and hot foods hot throughout the gathering.
A well-planned snack table makes hosting feel easier because guests can serve themselves, sample a little at a time, and return for more without stopping the conversation. Whether you are hosting a game night, open house, family celebration, or casual holiday visit, a few dependable options from Cuisine Adventures can also help create a more filling spread without adding complicated last-minute cooking.
The goal is not to cover every inch of the counter with food. A balanced snack table feels generous when it includes different flavors, textures, and dietary options, while still being simple enough to set up, refresh, and clean up comfortably.
Why a Snack Table Works So Well
Self-serve food suits gatherings where people arrive at different times, move around the room, or prefer small portions over a full plated meal. It gives guests a choice, helps the host avoid constant serving duties, and works equally well for a short afternoon visit or a longer game-day event.
A smaller menu is often more successful than an overloaded spread. Instead of offering several nearly identical chips, dips, or sweets, choose a few items that each bring something different.
Start With the Guest List and Event Style
Plan the amount and type of food around the gathering itself. A two-hour afternoon get-together may only need light snacks, while an evening watch party may need heartier foods that can stand in for dinner.
Questions to Ask Before Shopping
- How many guests are expected?
- Are snacks replacing a meal or simply filling the gap before one?
- Will guests be seated, standing, or moving between rooms?
- Are children, older adults, or guests with dietary restrictions attending?
- Will food be served indoors, outdoors, or both?
- How much refrigerator, oven, and serving space is available?
Build the Table Around Five Simple Categories
A category-based plan keeps the table balanced and helps prevent duplicate purchases. The basic food-group approach behind colorful, varied eating patterns is a useful reminder to include more than salty packaged snacks and desserts.
Photorealistic snack table at a relaxed home gathering, featuring colorful fruit and vegetables, cheese, crackers, dips, warm savory bites, and a small sweet treat arranged in simple bowls and boards, illuminated by warm golden-hour window light with soft shadows and a welcoming, atmospheric mood.
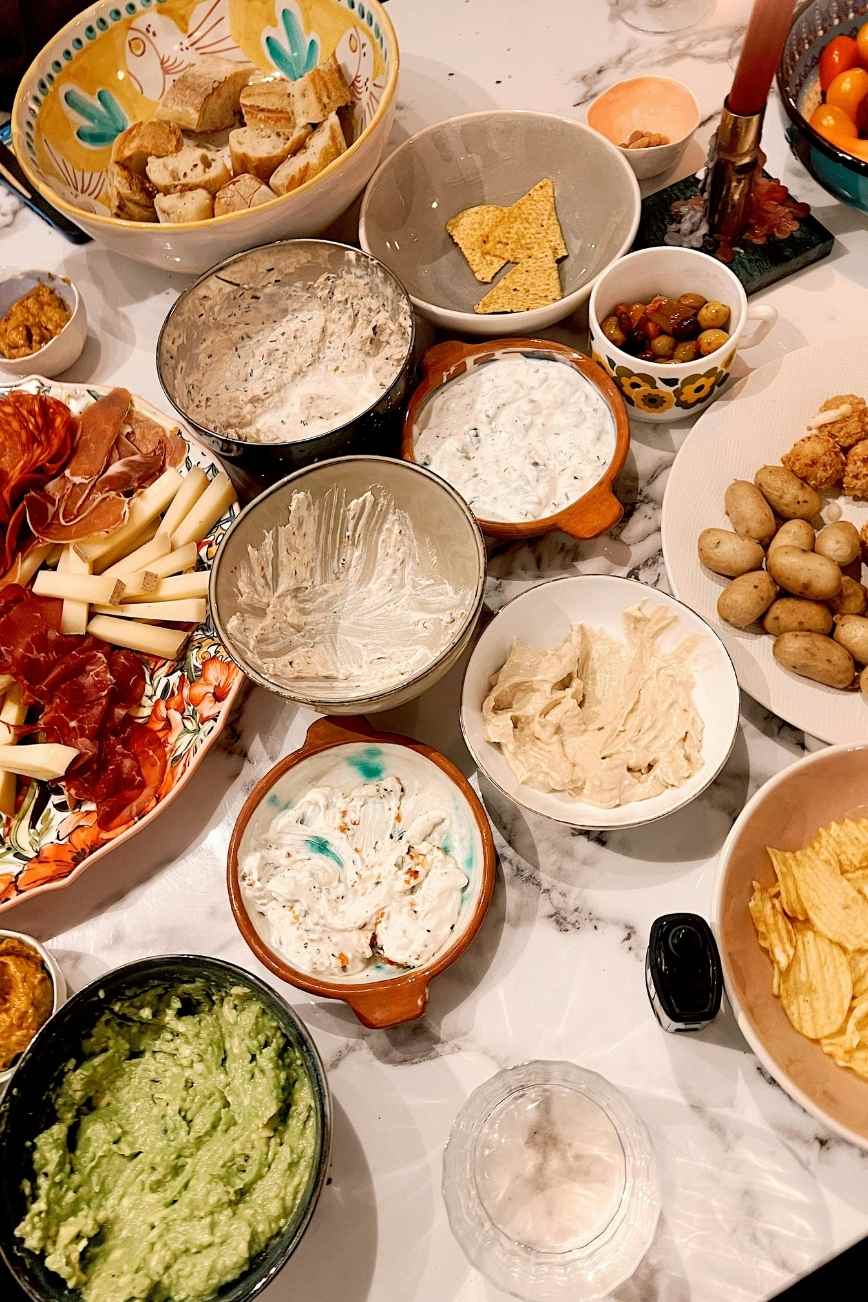
- Fresh choices: Fruit, cut vegetables, grapes, berries, cucumber rounds, or crisp snap peas add color and contrast.
- Filling foods: Cheese, eggs, bean dip, yogurt-based dips, lean meats, or protein-rich appetizers help snacks feel more satisfying.
- Crunchy items: Crackers, pretzels, popcorn, toasted pita, seeds, and vegetables give guests something crisp to scoop or nibble.
- Comfort foods: Include one or two familiar warm favorites, such as mini bites, baked appetizers, or savory pastries.
- Sweet finishes: Offer a modest dessert, dried fruit, cookies, or chocolate-covered fruit.
Use Flavor and Texture to Keep It Interesting
Contrast is what makes a snack table feel complete. Pair a creamy dip with crisp vegetables, a salty cracker with fruit, or a warm savory bite with something cool and refreshing. Include mild choices for cautious eaters, then add one tangy, spicy, or boldly seasoned option for guests who want more flavor.
A Simple Flavor Mix
- One mild item
- One savory item
- One tangy or spicy item
- One fresh item
- One sweet item
Plan Portions Without Overbuying
Portions depend on the event length and whether the table replaces a meal. For 10 guests at a casual snack-focused gathering, start with two dips, two crunchy foods, two fresh foods, one filling option, and one sweet choice. Keep extra crackers, fruit, and backup portions of popular foods on hand, but do not set everything out at once.
Use smaller bowls and platters, then refill them when needed. This keeps food looking fresh, avoids a picked-over appearance, and makes it easier to save unopened or safely stored backup food for later.
Make the Display Easy to Use
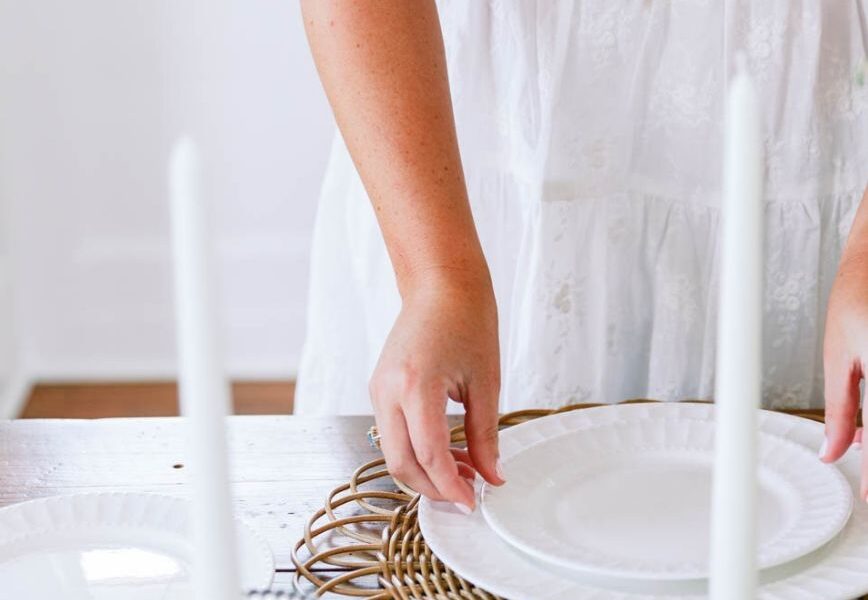
Set plates, napkins, and serving utensils at the beginning of the table so guests know where to start. Keep dips beside the foods meant for dipping, place messy items away from delicate foods, and leave enough open space for several people to serve themselves at once.
- Use bowls, risers, and boards at different heights for visual interest.
- Place colorful fruit and vegetables near the center of the display.
- Put drinks on a separate surface when possible.
- Label dishes that are spicy, vegetarian, dairy-free, gluten-free, or contain common allergens.
- Keep hot and cold dishes separated so serving areas stay organized.
Include Dietary Needs Without Making the Menu Complicated
You do not need a separate menu for every guest. A few flexible choices, such as fruit, vegetables, bean dip, plain popcorn, rice-based crackers, and clearly labeled cheese or meat options, will help more people find something they can enjoy. Check package labels carefully and use a separate serving utensil for every dish to reduce accidental mixing.
Keep Food Safe From Setup to Cleanup
Clean hands, counters, dishes, and utensils are essential before food reaches the table. Follow the practical guidance for parties and large groups by keeping perishable cold foods at 40°F or below and hot foods at 140°F or above.
- Set out small portions and replace them with chilled or heated backups.
- Keep raw ingredients away from ready-to-eat foods.
- Use a food thermometer for cooked dishes that require temperature checks.
- Refrigerate perishable leftovers within two hours, or within one hour if outdoor temperatures exceed 90°F.
Prepare Ahead and Reduce Waste
The day before, wash produce, prepare dips, set out serving dishes, write labels, and make room in the refrigerator. Shortly before guests arrive, cut delicate produce, heat warm foods, add ice beneath chilled dishes if needed, and put out only the first round of food.
Choose ingredients that can become tomorrow’s lunch, salad, sandwich, or soup. Smaller serving dishes, refillable bowls, and a short flexible menu reduce waste, save money, and make cleanup much less stressful.
Common Snack Table Mistakes to Avoid
- Serving too many foods with the same texture or flavor.
- Forgetting tongs, spoons, napkins, or small plates.
- Putting drinks where guests need to reach across the food.
- Leaving perishable foods out too long.
- Hiding allergen information or sharing utensils between dishes.
- Preparing every item at the last minute.
A Simple 30-Minute Setup Plan
- Clear and clean the serving area.
- Place plates, napkins, and utensils at the start.
- Add bowls, boards, and trays to organize the layout.
- Set out shelf-stable and fresh foods first.
- Add chilled, heated, and delicate foods close to serving time.
- Place labels beside dishes with special ingredients.
- Keep backup portions refrigerated or warmed.
- Check the table after 15 minutes and refill only what guests are enjoying.
Conclusion
A balanced snack table does not require professional skills or an oversized menu. With fresh choices, filling bites, satisfying crunch, familiar comfort foods, and a small sweet finish, you can create a spread that looks inviting and works for a wide range of guests. Plan ahead, serve in manageable portions, and let the table do the hosting work for you.

Leave a Reply